Professional sand sculpting is an art form. While it is an awesome job to have, sand sculpting does take a lot of work. Anyone who has ever tried to build a sand castle while they were vacationing at the beach can tell you that it’s harder to build that work of art then you think.
That’s why at Archisand, just as much time, if not more, goes into planning our sand sculptures as it does building them. If you’ve ever wondered what it takes for an Archisand professional sand sculpture to be built, here’s a little look into our process.
Design
At Archisand, our sand sculptures all start in the same place – in a sketch pad. Whether we are coming up with a design for a competition or creating a design based on our clients’ needs, we always create a sketch to work with.
You can check out our online sand sculpture sketch gallery to see the amount of work we put into our sculptures before we ever put or toes in the sand. A detailed sketch helps us to fine tune our design and can make it easier to direct artists when it comes time to sculpt.
Preparation
Once our sand sculpture design is set and approved by the client, it’s time to get started. But we can’t just run to the beach, gather up some sand and start sculpting. Professional sand sculptures require a lot of preparation. The first step in preparing to sculpt is choosing the right sand for the design and creating a strong foundation.
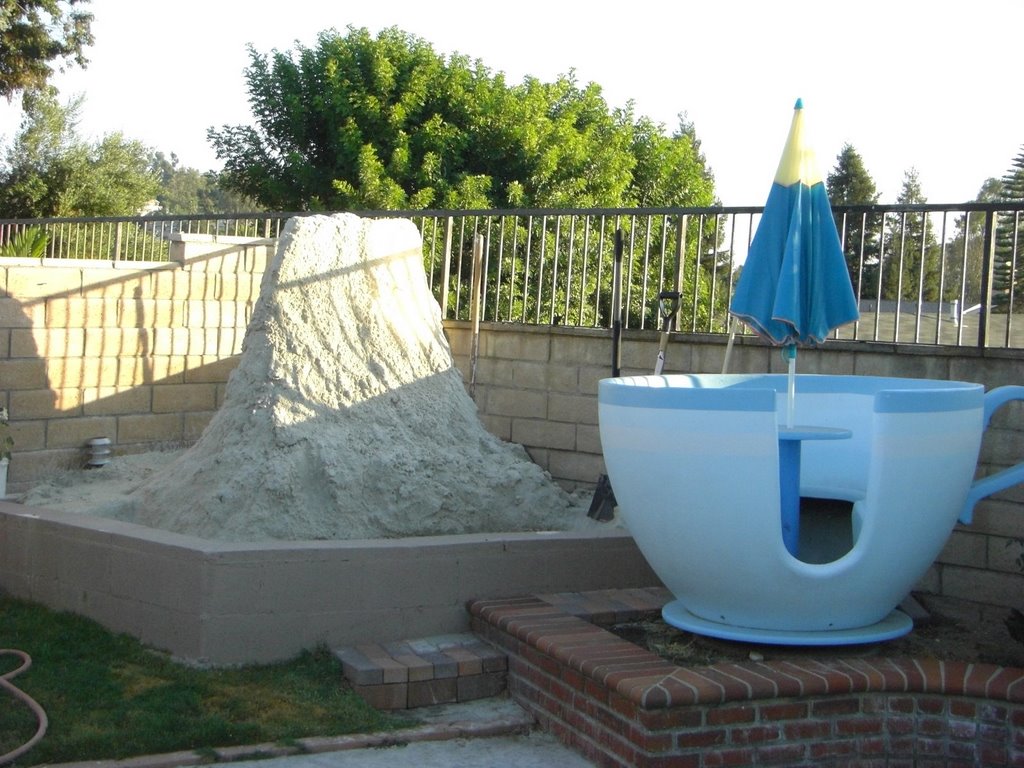 |
| Building the Sand Sculpture Foundation |
A fine grain sand is usually the best option and provides finer detail then courser sand grains. The sand is layered and moistened and then compacted. Compacting the sand ensures the sand will not crumble once sculpting begins. You can learn more about the compacting process in our sand sculpture tutorial.
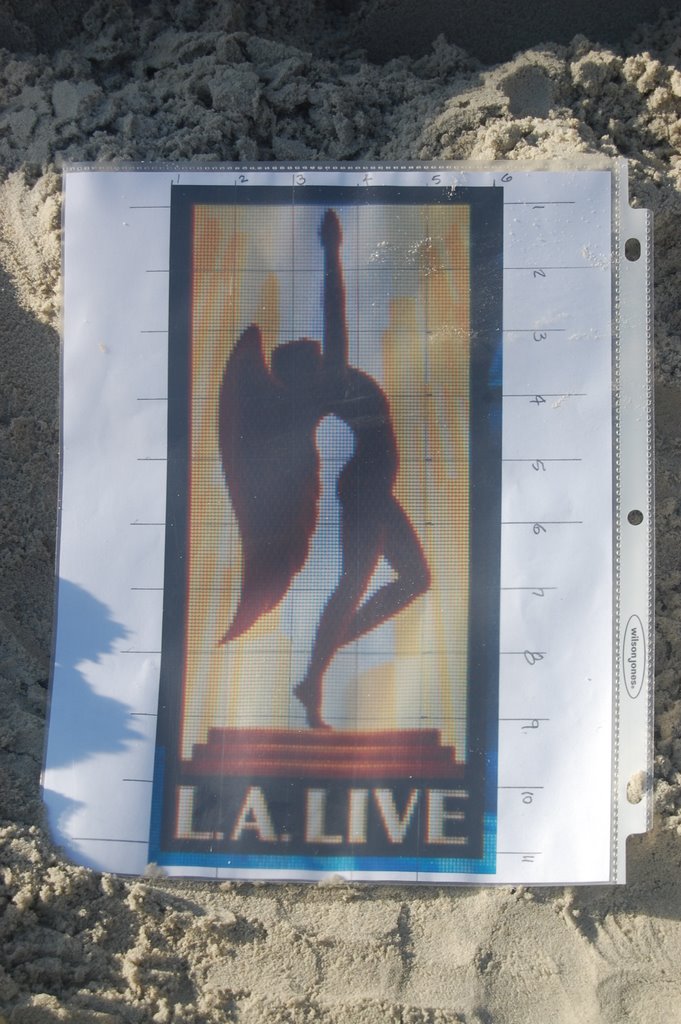 |
| Life-Size Design Helps Sculptors Get Proportions Perfect |
As you can see from the photos of this recent sand sculpture we did, we use a life-size sketch of the design to ensure we have the right proportions before we begin sculpting. We also use a grid pattern to help us translate the design to the sand perfectly.
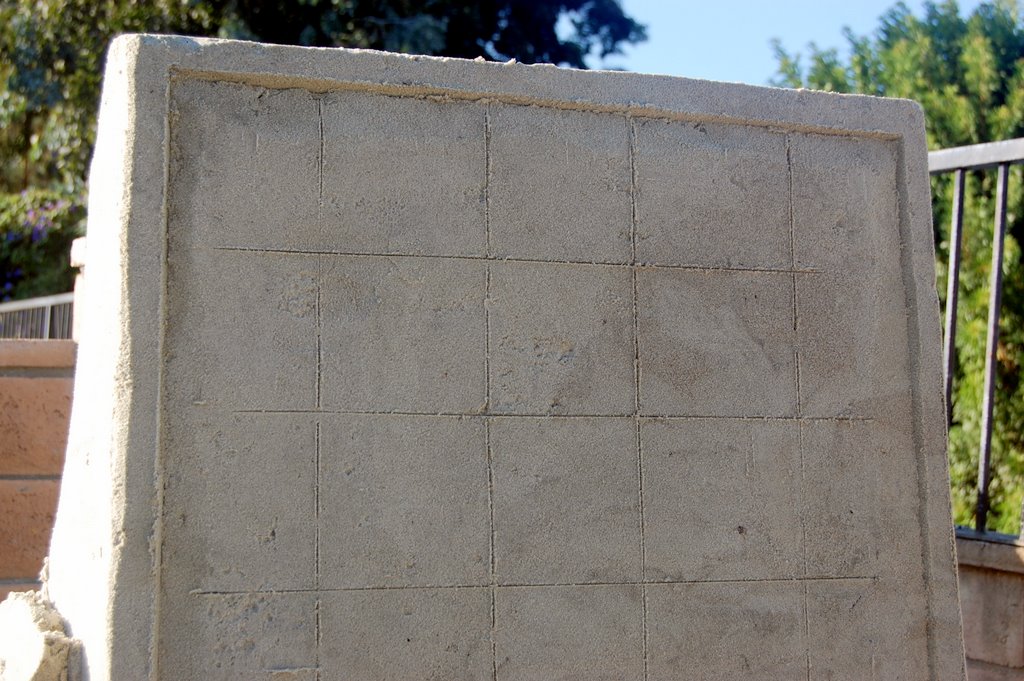 |
| Grid Patterns Help Sculptors Transfer the Design from the Sketchbook to the Sand |
Sculpting
Once the sand is prepared, we can begin forming the design in the sand. It’s always best to start from the top and work your way down. If you start from the bottom, sand that is removed as you sculpt upper portions of your design can ruin work you’ve already done.
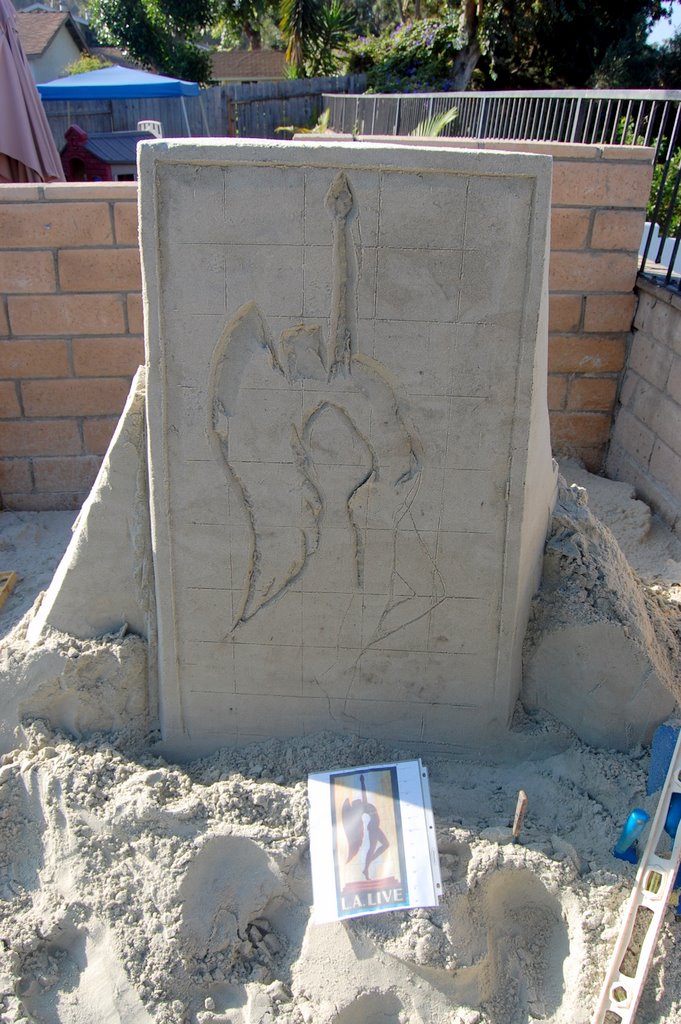 |
| Start Sculpting from the Top and Work Down |
The sculpting process can take hours and professional tools are needed in order to get the sculpture perfect. You can learn more about the tools we use to create professional sand sculptures in our sand sculptor tutorial.
Maintenance
Many of our clients request that we sculpt during their event. This provides great entertainment for their guests. Whether we are sculpting the sand for a competition, as a centerpiece for an event or as part of entertainment for guests, maintenance is required. In order for the sand sculpture to last as long as possible, it needs to remain moist. A quick spritz of fresh water will help to keep the sand from crumbling. We also always take photos of the finished sculpture – that way, even when the party is over, the memory can last forever.
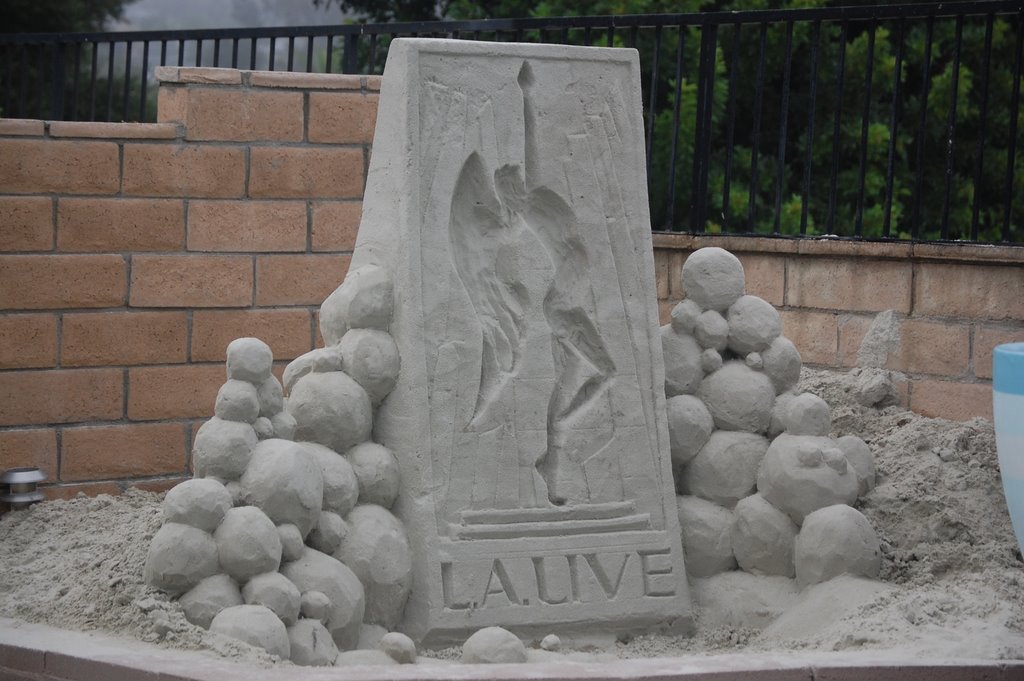 |
| Completed Sand Sculpture Takes Hours to Perfect |
Building a professional sand sculpture is definitely a time consuming process, but it is an awesome process to watch. If you ever have the chance to see an Archisand artist at work, you’ll be amazed at what they can do. We have done hundreds of sculptures and we are often hired to create engagement and wedding sculptures or to make one-of-a-kind centerpieces for parties, corporate events and galas – so be sure to look for us at the next party you attend.
And check out our online sand sculpture gallery to see the great work we have done.